
Greetings friends,
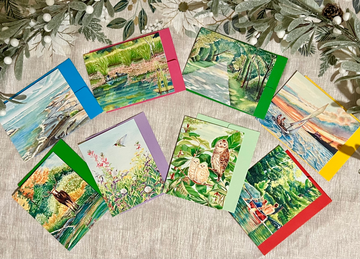
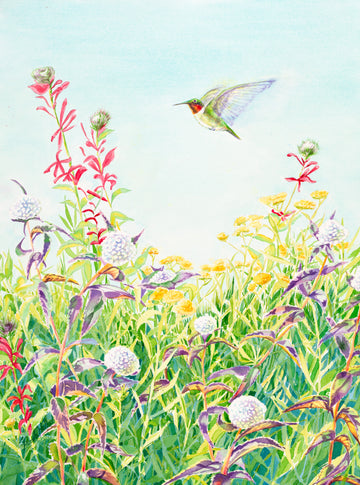
This past year, I began a visual record of my painting process. It is a great deal of fun to bring a painting to life. Below is a progression of images from my painting, "Ruby-Throated Hummingbird".
- After finishing my sketch and before transferring the image, I stretch my watercolor paper. This allows me to paint without the worries of buckles and ripples in the paper. To stretch the watercolor paper, I soak it in cool water for several minutes. Then, I gently unroll the paper from the center out onto my drawing board. Using a clean white towel, I work from the center out, smoothing ripples from the paper. Then, I staple gun the paper every 4" to 5" on the edge to the drawing board. I wait for the paper to completely DRY. Then I transfer the image using a large sheet of Canson tracing paper onto the stretched Canson 100%, pure cotton paper. The transferred image is very faint with care not to over darken. This image of the "Ruby-Throated Hummingbird" is 18 inches x 24 inches.

- Next, I begin to add subtle washes of color to block in the image. This also allows me to view my composition. If needed, I can make changes at this point before I get too far into the painting.

- In this third image, I have added more washes to deepen the color. Anything that I want to remain white is covered with a masking fluid. I allow this to dry before applying washes of color. This can be seen in the ball of the purple leafed wild flower and the edges of the hummingbird's body. In these areas, I want to preserve the white of the paper as each additional wash is added.
- I begin to add color to move the viewer's eye around the image. The red flower, is in a triangle pattern. The over-all silhouette appears to be too strong, I soften the exaggerated "V" shape by adding more of the pale yellow flowers. This becomes a very fun visual dance. More color here, modifying the shape there, and working all parts of the painting together. Trying not to concentrate on any small area.

- Now the task of layering in the green foliage begins. I am careful not to loose the underlying structure of the plants. As the colors deepen in the green areas, I go back in and deepen the purples, and the golden yellows on the small yellow flowers. It is great fun to "pop" the white ball flowers by working in the deep greens behind them. White is never completely white in paintings. Using a mixture of aqua blue and the purple on my palette, I begin to mottle and shape the balls of the white flowering plant.

- In this step, I have added the Ruby-Throated Hummingbird. His wings are silvery from underneath, as he beats his wings, I am trying to capture the flutter of the wings and I am careful not to over darken them.
- I continue to work the foliage, deepening the darks, adding shadows in the undergrowth.

- In this final image, I do a more complete wash of green blue in the foliage, intentionally covering some of the individual stems to solidify the whole. I am decreasing the busyness of the wildflowers. I keep the the top third of the painting pristine and open. I go back in working the darks, popping the lights, strengthening the darks. Before I sign an image, I leave it for several days, then go back in and make any changes. Carefully, using a white eraser, I remove any stray pencil marks from the transfer.

Related Articles